|
|
 |
Fan Art - 02/21/02 |
 |
Ill Omen
"You'll be adorned, You will have everything, Forget your fears and want no more."
- VNV Nation
|
 |
New Fan Art
|
 |
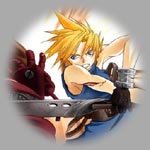
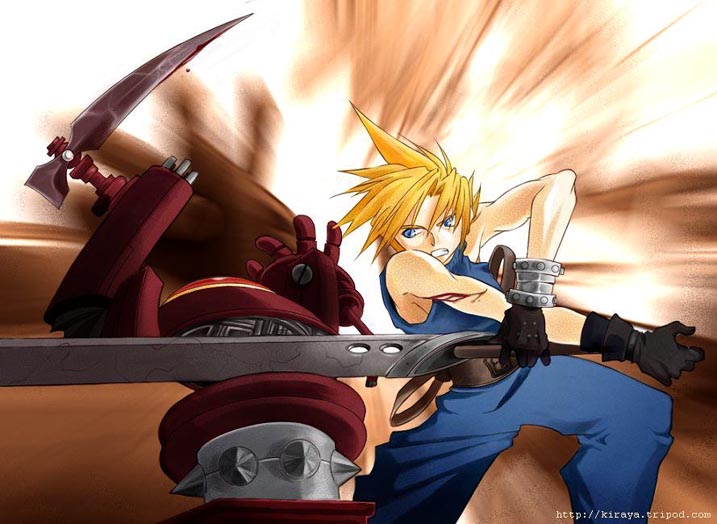
"Sword Slash"
Artwork by Kiraya
Cloud Strife, Final Fantasy VII
Comments: Oy, the way the sword is slashed is wrong, that much I know. I've been told the hands look like they're in a weird position. He's basically trying to slash the machine using the momentum of his right hand while keeping a grip with his left hand... ...x.x did that make sense??
|
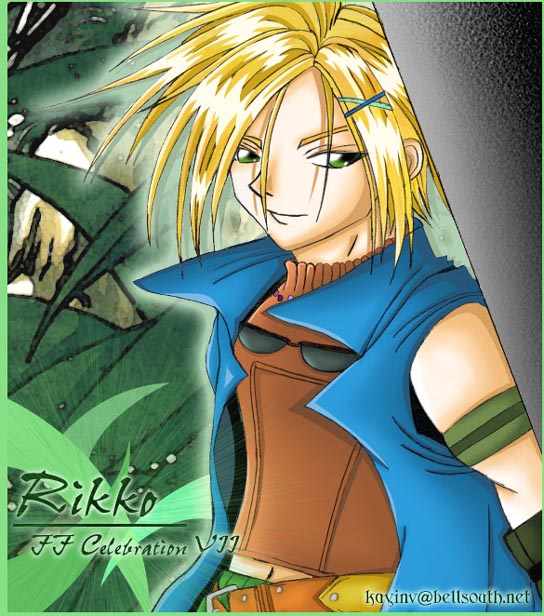
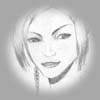
 Rikku, Final Fantasy X
Comments: I did this pic for ffgallery, and the idea was to switch the gender on a FF character. I being a Rikku nut decided to do her, and dubbed the "male" version to be "Rikko". This was my first pic where I used the pen tool to make highlights in the hair, and the darkest/lightest parts everywhere else.
|
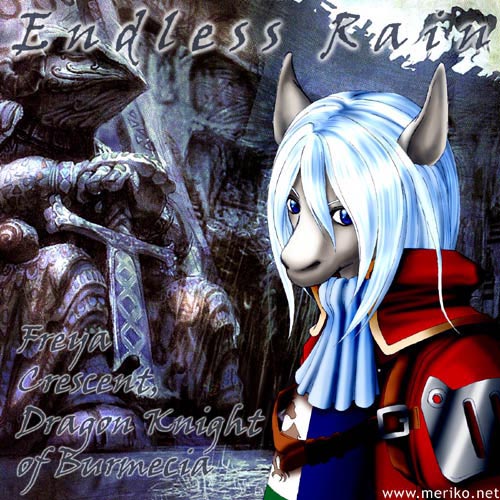
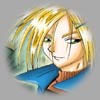
"Endless Rain"
Artwork by Meriko
Freya Crescent, Final Fantasy IX
Comments: Freya's my favorite character from FFIX. So noble...so strong...so beautiful. She's like the Burmecian version of Beatrix. ^^
|
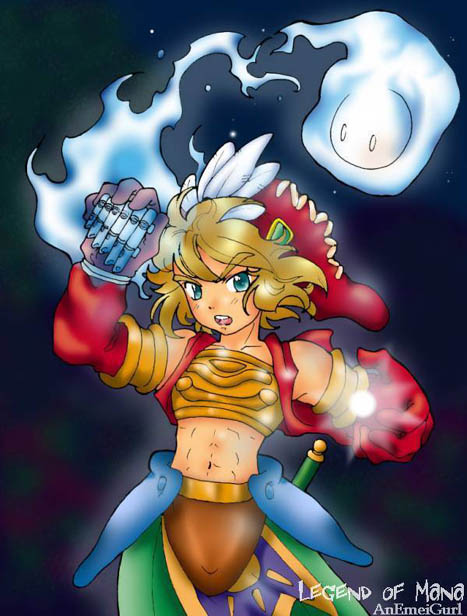
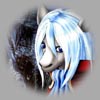
"Celestial Fire"
Artwork by AnEmeigurl
Male Hero, Legend of Mana
Comments: For some reason, I just can't stop drawing this guy!..Argh! He really does look like a girl though. I was planning on putting salamando in it...since it was firey. But, I just don't know....how it looks like! ^_^() Oh well! I named the hero Heejun, and I still have problems trying to draw him more masculine. Aye ya!
|
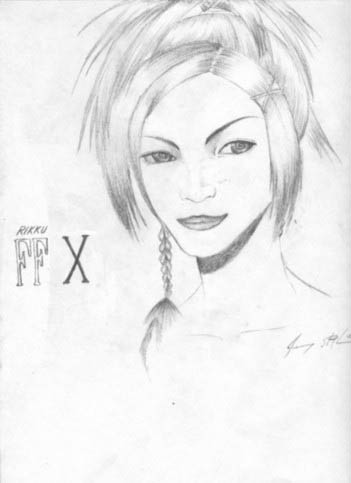
"Eyes of an Al Bhed"
Artwork by Jeremy Stotler
Rikku, Final Fantasy X
Comments: As one of my favorite characters in the game she was also the hardest to draw. But I hadfun drawing her.
|
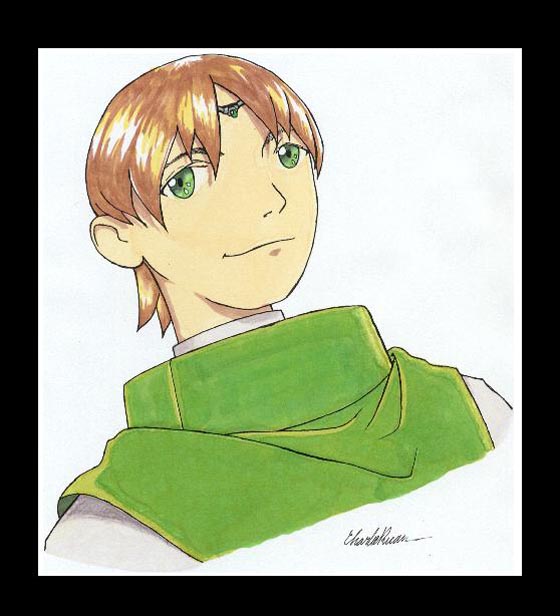
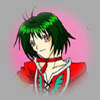 Farah Oersted, Tales of Destiny II
Comments: This is my second character I colored using the Photoshop. Actually, I didn't play the game but I watched my sister played it. I don't know why I drew this art. Maybe I like Farah's cloth and her green hair...^^ I drawed this art using black pen and then I colored it using the Photoshop.
|

Luc, Suikoden
Media: 01 inking pen, prismacolor markers
Comments: This is a picture of Luc from Suikoden 1 and 2. I drew him using a type of anime style different from the one used by the artists who designed him. This is my first artwork submission so I wanted to do something simple, like a portrait. This is also my first attempt at using markers to color my artwork and although it's not great, I think it's an ok first try. Feel free to E-mail me or come to www.geocities.com/rukus520 for my personal artwork or the homepage I have listed for artwork by my art crew.
|
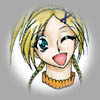
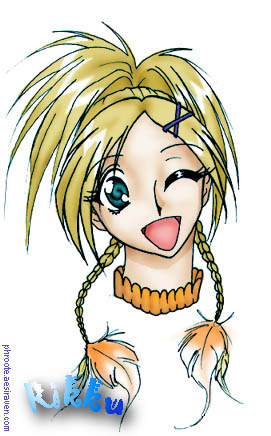
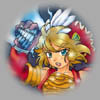
"Cheerful Rikku"
Artwork by Professor
Rikku, Final Fantasy X
Comments: Rikku seems really bouncy, and chipper so I decided to draw her like so. I'm slightly new to this whole CG stuff, but it's fun. This picture was done with Adobe Photoshop 4 and Illustrator 10.
|

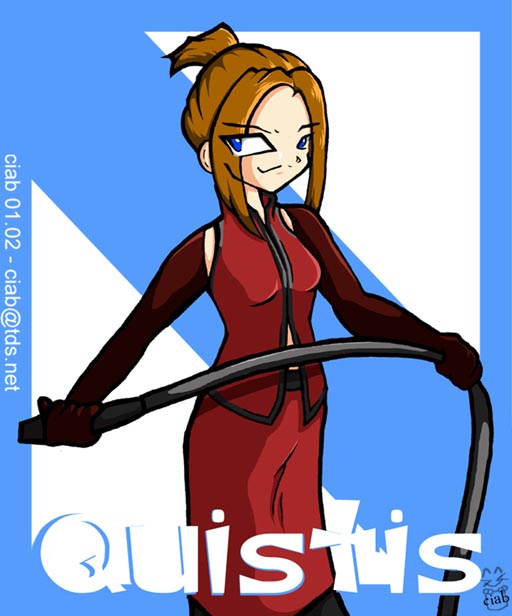
"Quistis"
Artwork by ciab
Quistis, Final Fantasy VIII
Comments: I was looking at different fanart pages on the web that I have not looked at in forever and I realized how much of it looks like a cookie cut anime style. I am tired of seeing graphically rich pictures that take hours to do, and while they look beautiful, at their basis all they are is eye candy. I have tried to do that in the past and did not enjoy spending all that time staring at the computer for something that looked empty to me in the end. I decided to incorporate this style I have been using for awhile but never really took seriously into a fanart picture. I enjoyed drawing the image and spending just a couple of hours coloring it rather than 20 plus hours. Plus I feel it expresses the way I want to draw, and not the way books tell me to draw. Call it a happy experiment =)
|
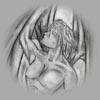
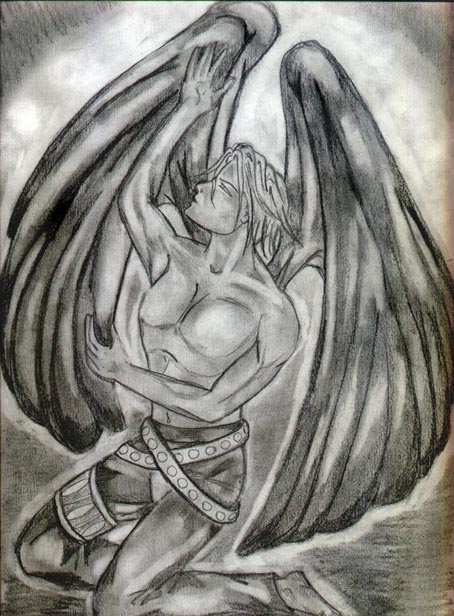
"Winged Lion"
Artwork by Malice Shaw
Squall Leonhart, Final Fantasy VIII
Comments: This picture was drawn up for Rhyein of Fanfiction fame, for her enticing story of an alternate universe involving Squall becoming a sorcerer. This is a picture of Squall with black wings, to the effect of the story itself. It's an excellent read, and I recommend it to anyone and am proud to have drawn fan art for it. Yay!
|
Feedback
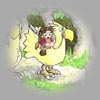
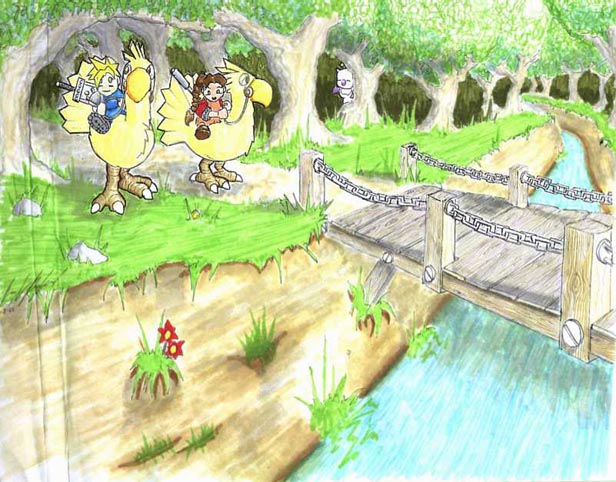
"Final Fantasy Kids: Cloud and Aerith"
Artwork by CyberPumpkin
Cloud and Aerith, Final Fantasy VII
Comments: Although it's true that Cloud and Aerith didn't know each other as children, I've always wanted to do a series of pieces called "Final Fantasy Kids", with young versions of different characters going on adventures. This is my first "FFK" drawing, involving my favorite Final Fantasy couple!
Director Comments: This is a really fun peice. However, it looks like the left side of your work got a bit crumpled prior to or during the scanning process. I just wanted to show that all is not lost when your physical work is damaged. Through just a bit of simple tinkering in a graphics program, you can correct minor flaws such as this, and bring your work back. A future tutorial will go more in-depth with how to do this, but for now, you can check out what i did to fix it up a bit.
|
Tutorials
Inking |
|
Too lazy to write an intro about how inking is the greatest thing
ever, so let's get to it, eh? All you need to ink is a drawing (preferrably
in pencil) and a relatively thin pen. Note that ball point pens
don't work too well, but the typical black ink pens that you find
at any store do just fine.
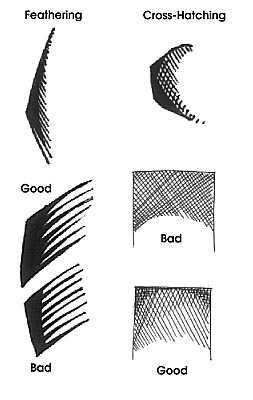
A few terms to know about inking: Feathering and Cross-hatching.
These are techniques used for shading. Feathering creates a fading
effect using ink strokes which taper off, while cross-hatching can
more acurately ccreate a certain shade level. Both can certainly
be used on the same drawing.
|
 |
|
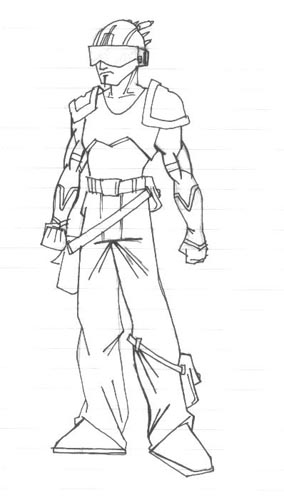
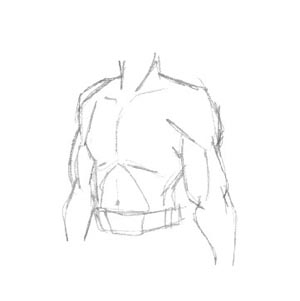
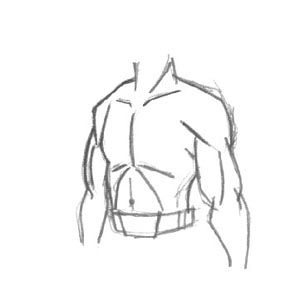
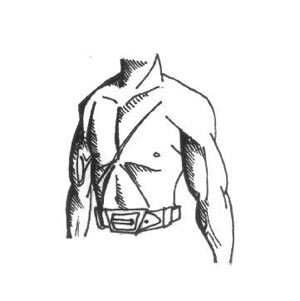
I've divided the process of inking into 6 steps, and I scanned
the progress of an inking on what we'll call Sephiroth's torso as
I went through each step.
Step 1
First of all, make sure you finish your drawing. Don't even think
about starting to ink a drawing that's not completed. That's what
pencils are for, as they're erasable. Ink isn't.
|
 |
|
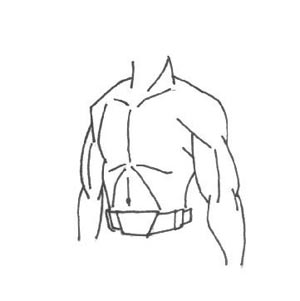
Step 2
Darken the lines of your drawing and try to clean it up (with an
eraser) as much as you can. A cleaner drawing makes inking much
easier.
|
 |
|
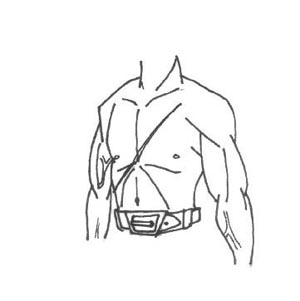
Step 3
Your first ink appllication should be an outline. Don't worry about
details yet. Just cover the basic pencil-outline outline of your
character in a thin, uniform line.
|
 |
|
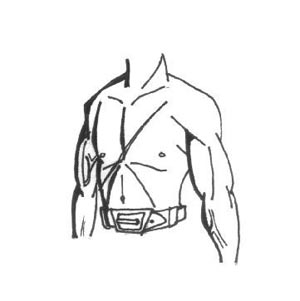
Step 4
Details - now add all the detail that your picture needs. In this
example, the details are focused on the eyes, belt buckles, tattoos,
scars and all that kind of stuff.
|
 |
|
Step 5
Now for some line width variation. Varying the width of the
lines in your drawing is a good idea. A good rule of thumb is to
make the lines further away from the lightsource darker,
so as to make them act as shadows. You can also make some lines
wider to stress certain parts of a drawing.
|
 |
|
Step 6
And lastly, the shadowing. Use the previously mentioned techniques
of feathering and cross-hatching to complete the drawing. This kind
of detail will add more depth to your work.
|
 |
|
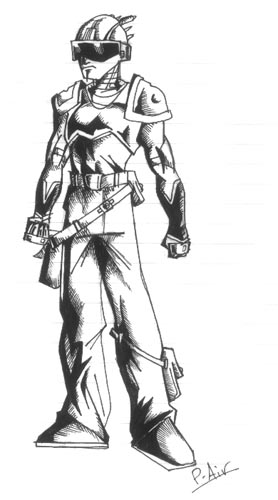
Here is a an example of a a drawing I did. The first was done in
a plain, boring, mediocre inking, while the second was much improved
upon using varying line width, feathering and cross-hatching. The
difference is obvious.
|
|
Hope this gets you guys to start drawing something, and once again, my e-mail address is mr_socko_rules@hotmail.com and you can visit my art site at http://www.geocities.com/p_airart/index.html.
-Pierre
|
|
Shards
|
This exciting cliffhanger to be continued next week...
|